Any sewist needs a pincushion to hold their pins together and on-hand. What I used.

How To Make A Small Homemade Pincushion For Your Finger Diy Project Youtube
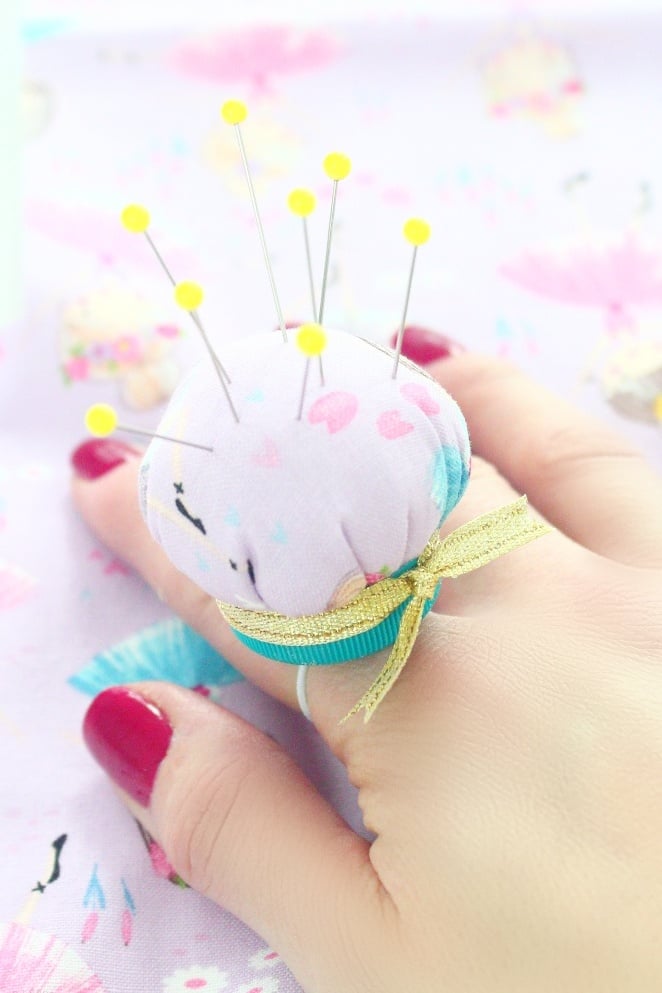
This DIY pin cushion is like jewelry for your sewing fingers and is also super easy-peasy so follow this tutorial to start making your own adorable finger pin.
. - June 18 2011. There are many kinds of pincushions but a finger pincushion is definitely the cutest ever. Leave an area of approximately 15 open and then begin sewing again and go right to the end.
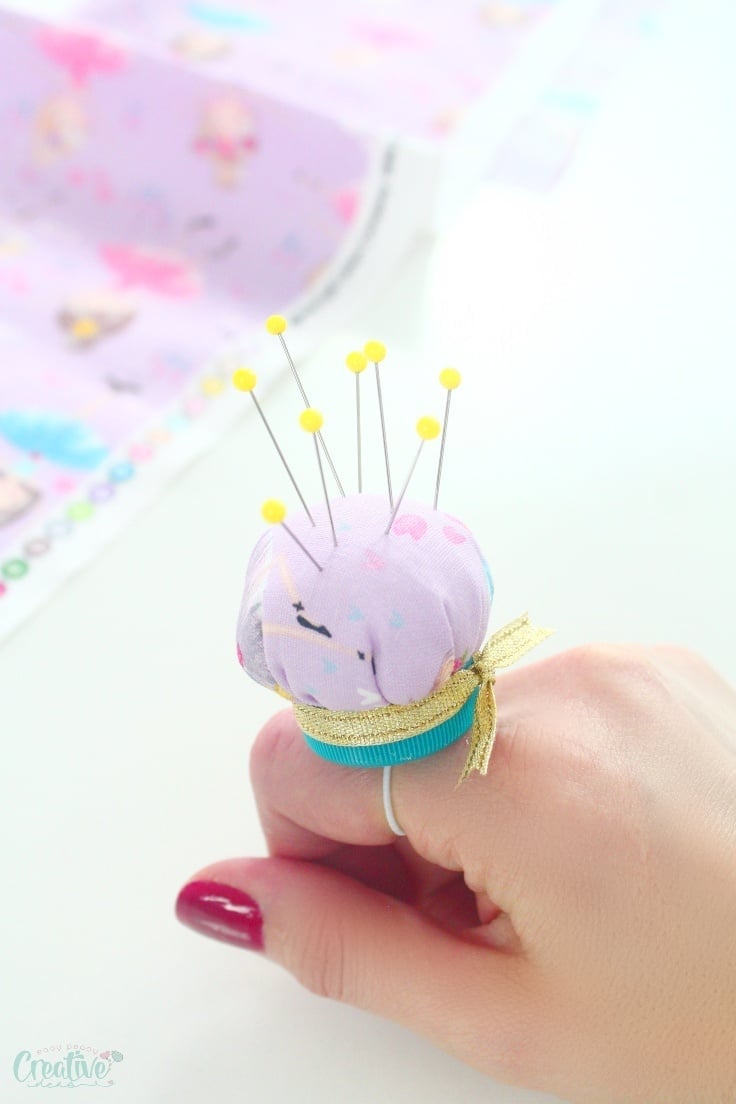
Photo from Easy Peasy Creative. This tutorial will teach you how to make a cushion out of just a few scrap quilt designs and some fiber fill. Keeping a pincushion close at Hand is really quite simplewear it on your finger.
Start stitching at one end of the triangle carry on to a quarter of an inch before the end of that side pivot and start down the other side for about an inch. There are many kinds of pincushions but a finger pincushion is definitely the cutest ever. Set your machine to a short stitch length.
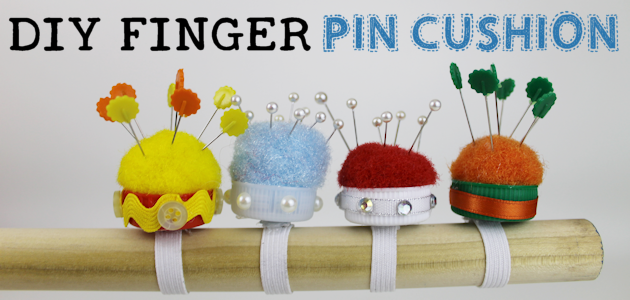
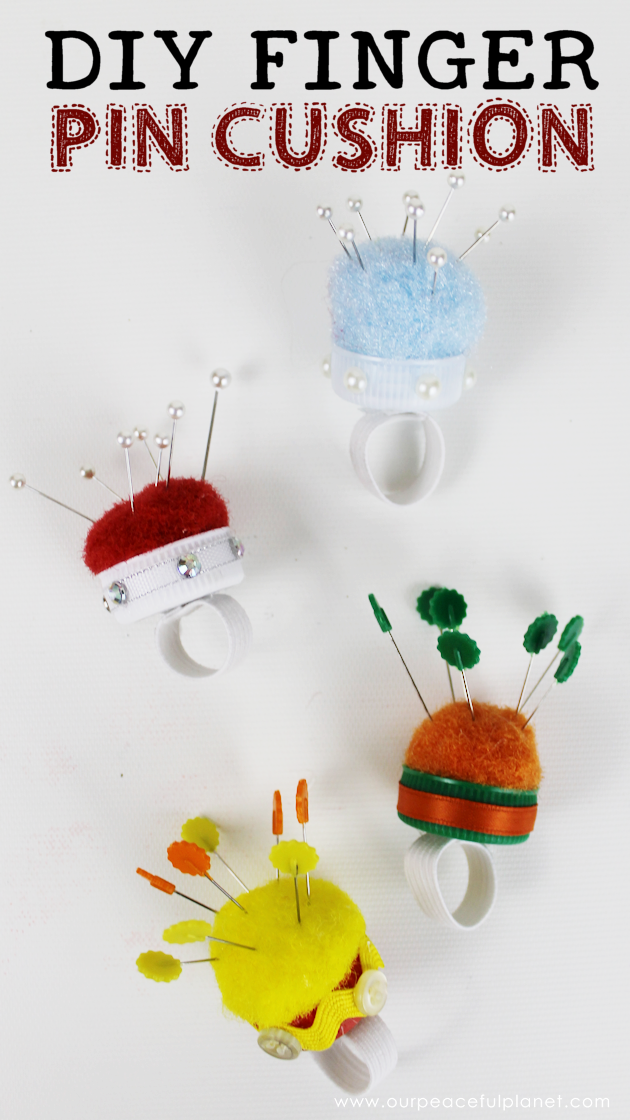
Free easy returns on millions of items. Poke a hole into the middle of the bottle cap large enough to fit the elastic folded. You can decorate them using all types of items.
For the bottle cap. Instructions These are the basics of what you need along with a glue gun. Applique a Pincushion With Leaves.
Ad Browse discover thousands of brands. Go to Easy Peasy Creative to see how to make it. Links to FREE patterns.
Scraps of cotton fabric Inklingo Circles printed 15 inch circles on fabric named with the finished size rotary cutter and mat Use scissors if you prefer quilting thread for a running stitch to gather the circles finger. Leave an area of approximately 15 open and then begin sewing again and go right to the end. This DIY pin cushion is like jewelry for your sewing fingers and is also super easy-peasy so follow this tutorial to start making your own adorable finger pin.
You can organize all of your sewing needles right at the tips of your fingers when you make this amazing Pointer Finger Pin Cushion quilt project. Share to Twitter Share to Facebook Share to Pinterest. Although the sample has fall leaves you could apply the same idea with spring colors or a different shape entirely.
For the fabric cushion. Needle thread and scissors. Start stitching at one end of the triangle carry on to a quarter of an inch before the end of that side pivot and start down the other side for about an inch.
Mollie Johanson With a bit of hand applique and a simple seam you can make this pincushion adorned with leaves. Which if you look closely youll notice both hexagon 6-sided and pentagon 5-sided shapes. Secure and cut your thread.
You can make it from a scrap of fabric some basic notions and a recycled bottle cap. Read customer reviews find best sellers. Squeeze and push your pom pom down into it firmly.
Secure and cut your thread. Free Finger pincushion pattern Stitched together Studios designed this handy finger pincushion for Bernatex. Any sewist needs a pincushion to hold their pins together and on-hand.
April 5 by Anne Weaver. Stuff firmly with fiberfill and slip-stitch the opening closed. Stitch both open ends of the triangle leaving a one inch.
Place a large glob of hot glue in the bottom of your cap. Although this is a particularly simple quilt pattern the way this free cushion pattern slips around your finger is sure to make. Free shipping on qualified orders.
Get your free pattern by downloading the PDF document HERE. This is what your triangle will look like. I chose some fun purple stripes from Jen Kingwells Gardenvale fabric line.
Using the hole punch or awl poke the elastic through one hole to the underside of the bottle cap. Punch 2 holes into the top of the bottlecap and enlarge slightly enough for the elastic to thread through. The Making of a Finger Pincushion A fun and simple tutorial on how to make these darling finger pin cushions with pictured instructions.
Pretzel Pincushion Tutorial from While She Naps. Finger Pin Cushion Tute Towards the end of September I got together with Susie my friends Ivete and Andrea owners of the brand new online fabric store Gotham Quilts - if you havent visited their website I highly recommend you head over there as soon as youve finished reading this of course and Nancy to celebrate Nancys birthday. Cut a circle of fabric of about 5 or larger depending on the size of your cap.
Pincushion Tutorial Ride-Along This pincushion is based off of a soccer ball. Tie a double knot into the elastic in the underside and add a generous amount of hot glue to glue the knot in place. Keep your pins and needles handy when sewing with this DIY finger pincushion.
Fold the square in half diagonally and sew around the raw edges using a ¼ seam allow- ance leaving a small opening for turning in one of the sides. Glue the elastic onto the bottom. Cut a scrap of fabric to 3½ square.
Clip the corners and turn the piece inside out. Fold your 3 inch or 35 inch square on the diagonal. In my case I used a 2.
How to make a finger pin cushion. DIY Finger Pincushion Tutorial.

Finger Pin Cushion Red Thread Studio

Finger Pin Cushion Red Thread Studio
Adorable 5 Minutes Finger Pincushion Diy Easy Peasy Creative Ideas

Finger Pincushion Quilt Obsession
Diy Finger Pin Cushion In 10 Minutes
Diy Finger Pin Cushion In 10 Minutes
Adorable 5 Minutes Finger Pincushion Diy Easy Peasy Creative Ideas

Finger Pin Cushion Red Thread Studio
0 comments
Post a Comment